Getting Started
In the upper right hand corner of your dashboard, you'll see a circle icon with either your initial or your avatar (if you've uploaded a unique one). Click on this icon and navigate to Getting Started.

Overview
Getting Started provides a guided, yet brief, introduction to the most important features available in Finpace.
It is recommended that all users with a unique login complete this experience.
Complete Onboarding
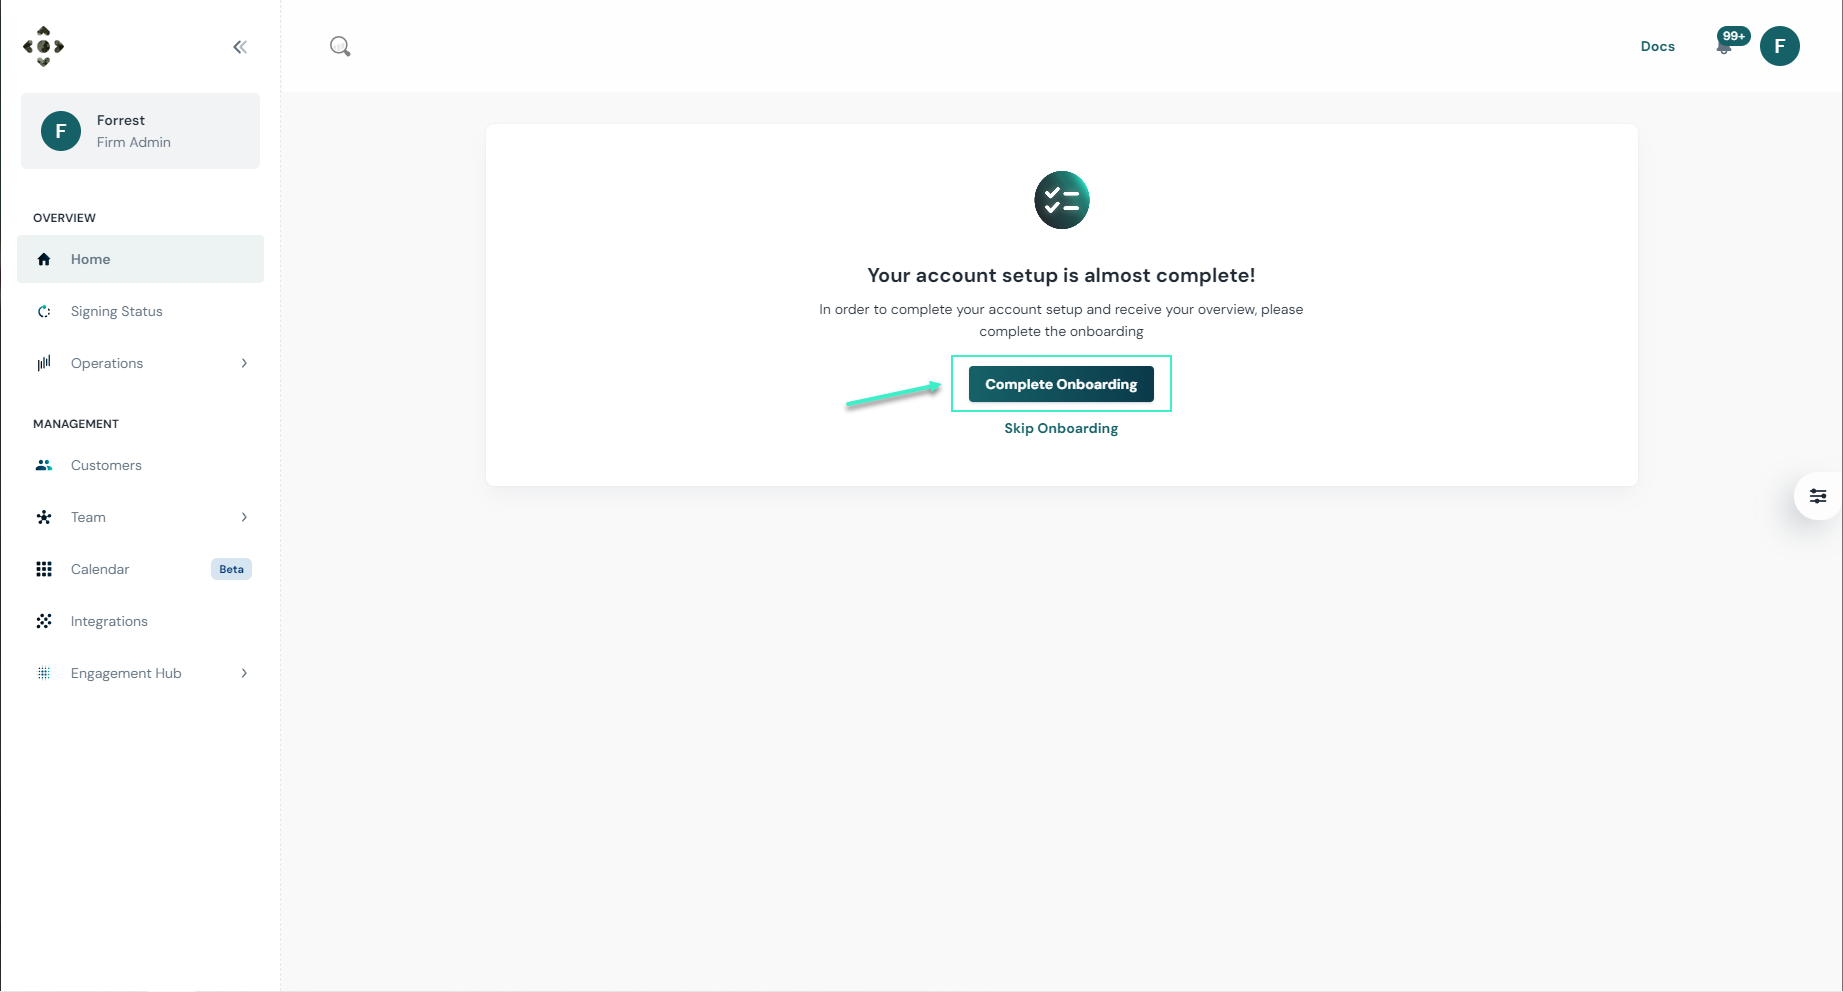
After logging in for the first time , you will see the above image with Complete Onboarding as your next step.
You will then be presented with five (5) line items in a checklist to complete:
- Connect your CRM
- Deploy your first template
- Send a test form
- Setup your emails
- Onboard your first client
You can click on Getting Started anytime to revisit this experience or check your self-onboarding progress.
Connect your CRM
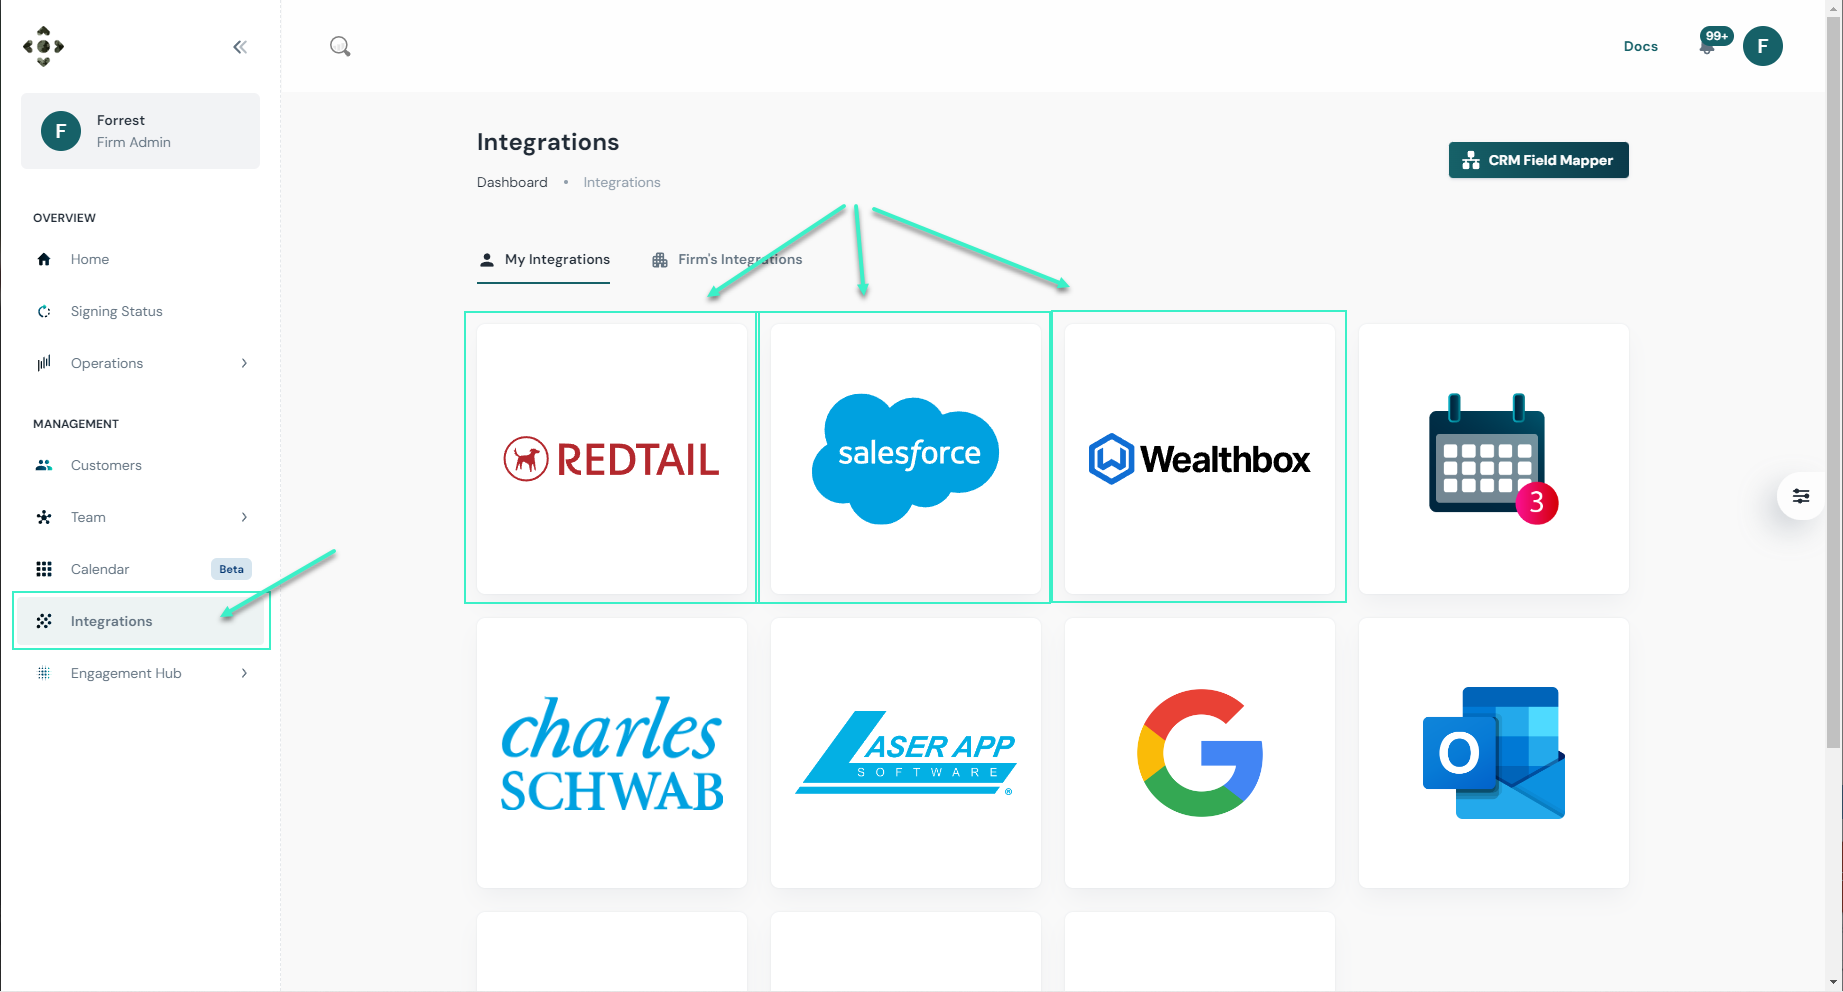
If you don’t currently use one of our integrated CRMs or don’t have a CRM at all, you can simply use Finpace as your CRM. While Finpace may not offer all the features of most CRMs, it provides exactly what you need to open accounts and move quickly!
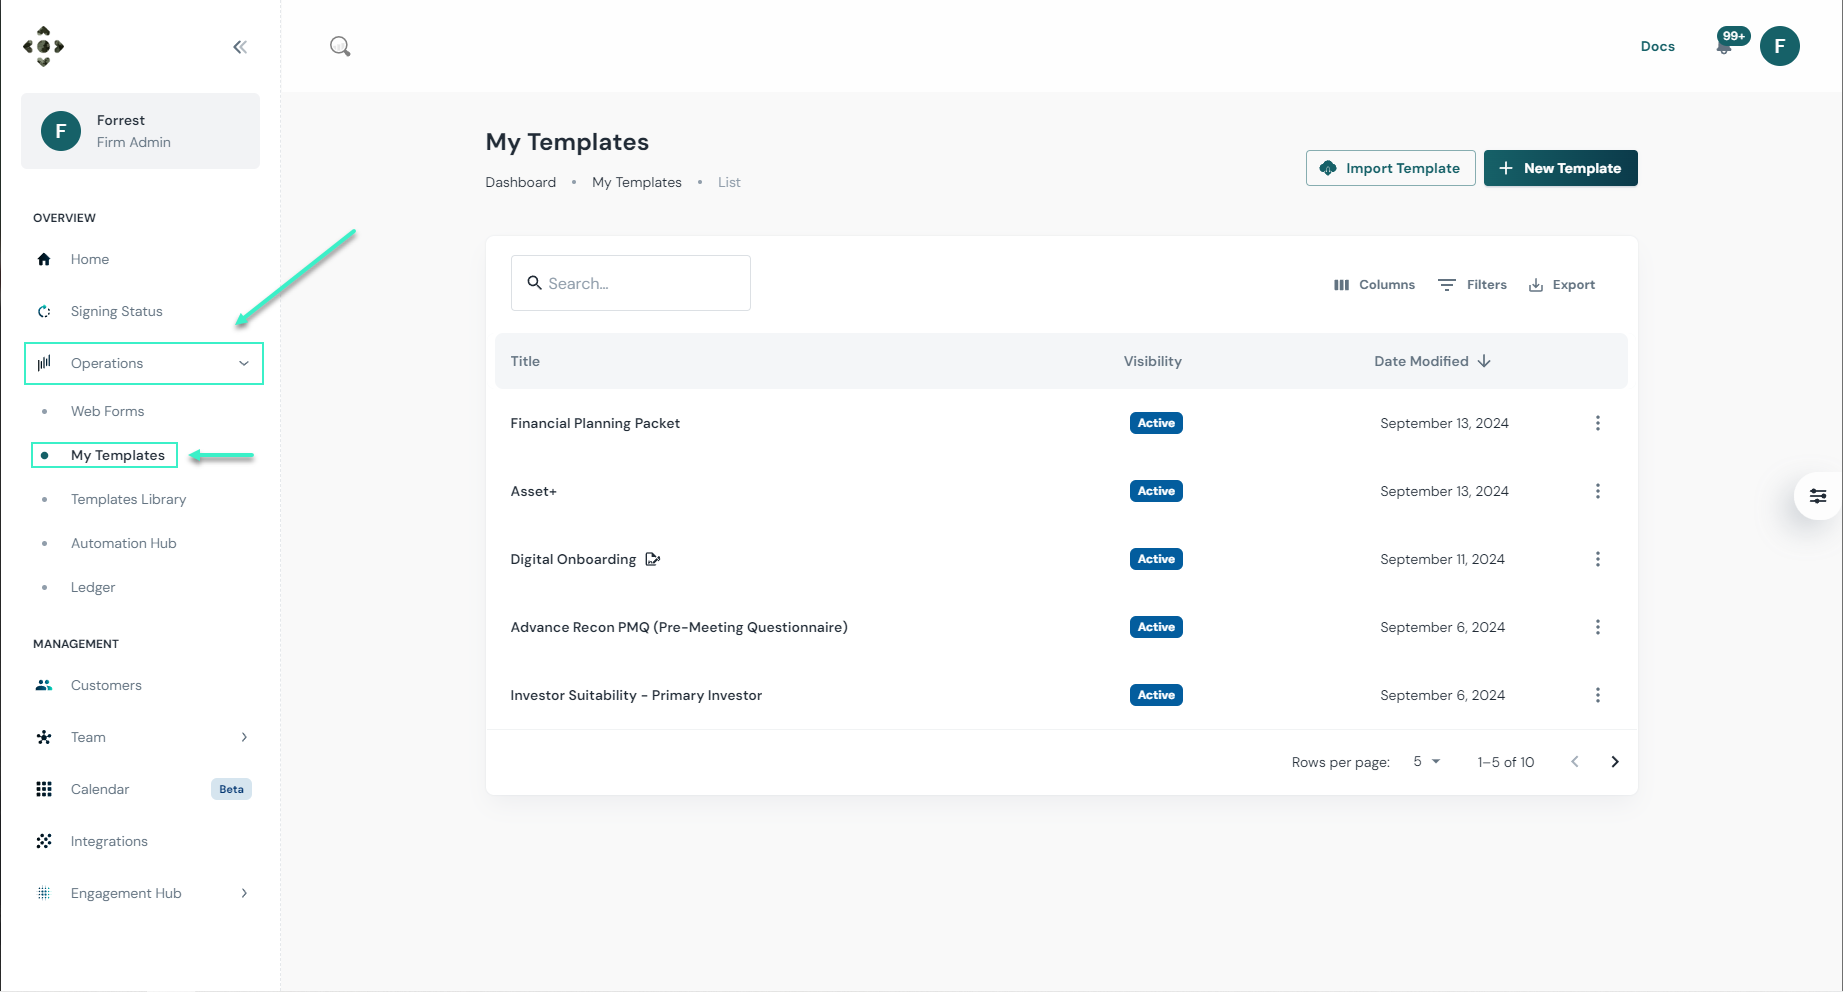
Deploy your first template
Templates are discussed in detail in this article within Finpace Docs. For more information, please refer to that article.
The Templates Library is discussed in detail inthis article within Finpace Docs. For more information, please refer to that article.
This is where your deployed templates will show up!
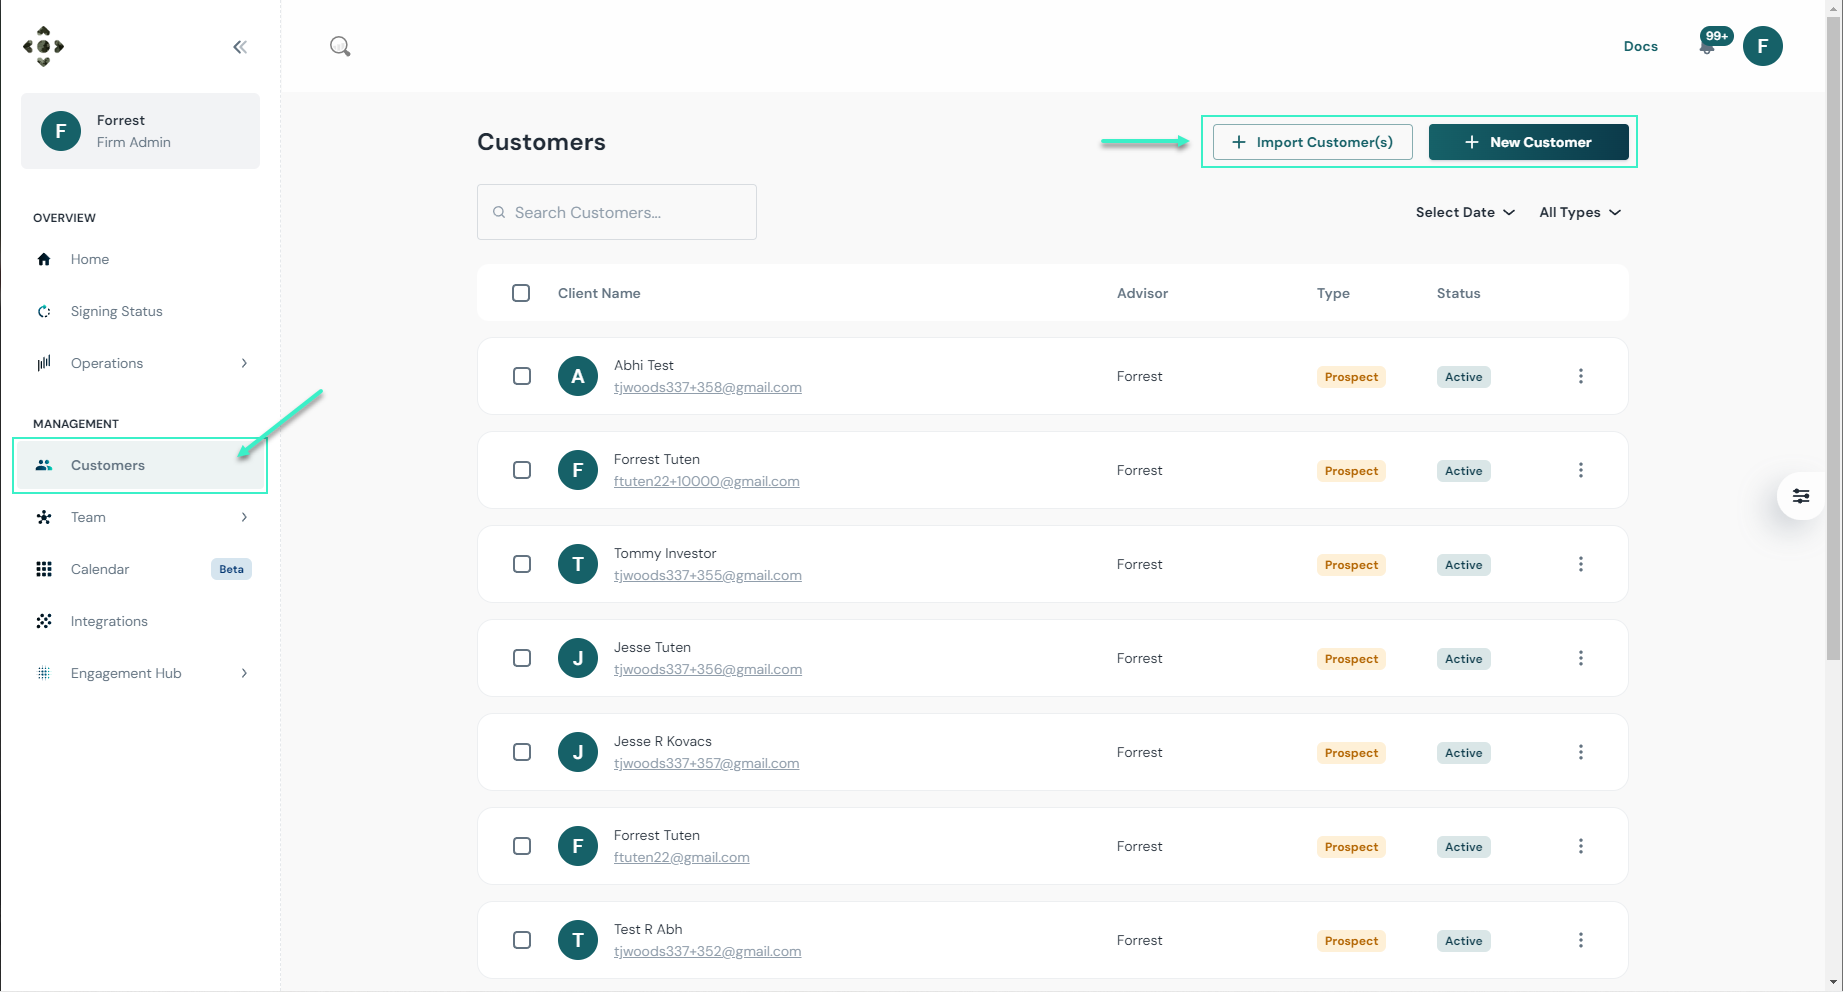
Send a form
Sending a form starts in the Customers tab.
Web Forms are discussed in detail in this article within Finpace Docs. For more information, please refer to that article.
If you are brand new and have not imported any customers into Finpace, you can start from scratch by selecting Import Customer(s) or New Customer at the top right of this Customers section.
Import Customer(s) is a feature within our Automation Hub. For more details, please refer to this article.
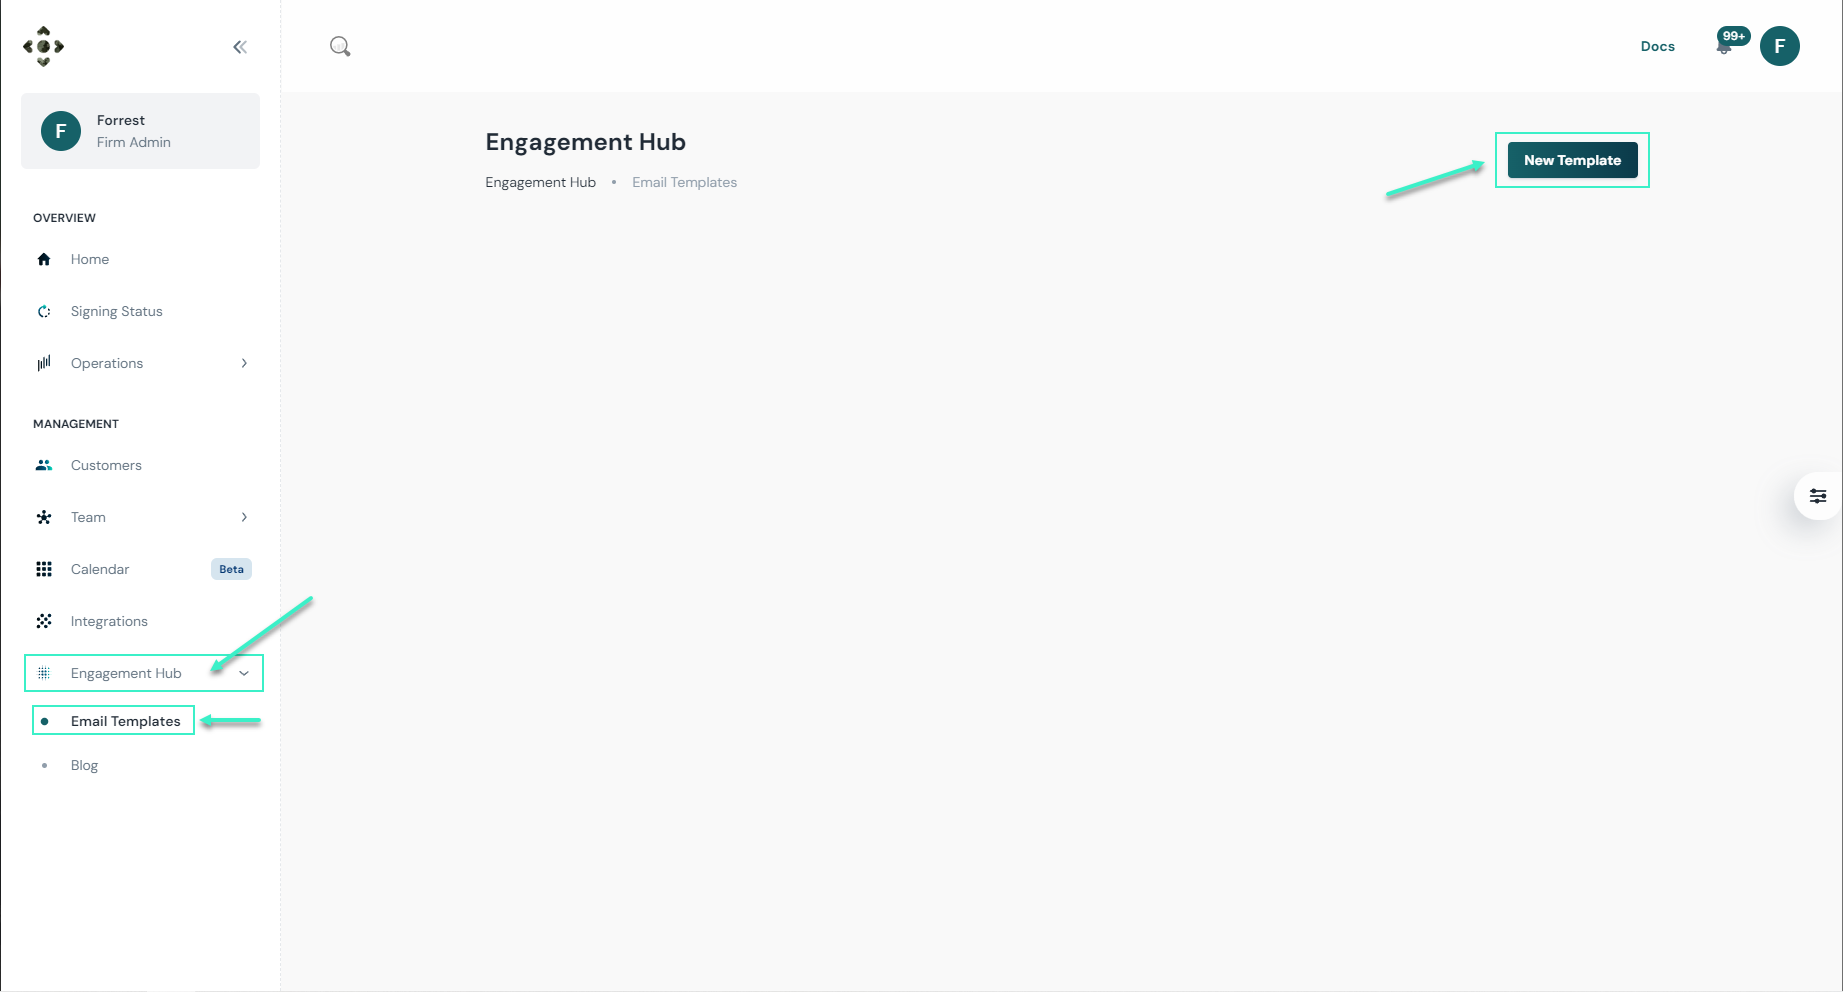
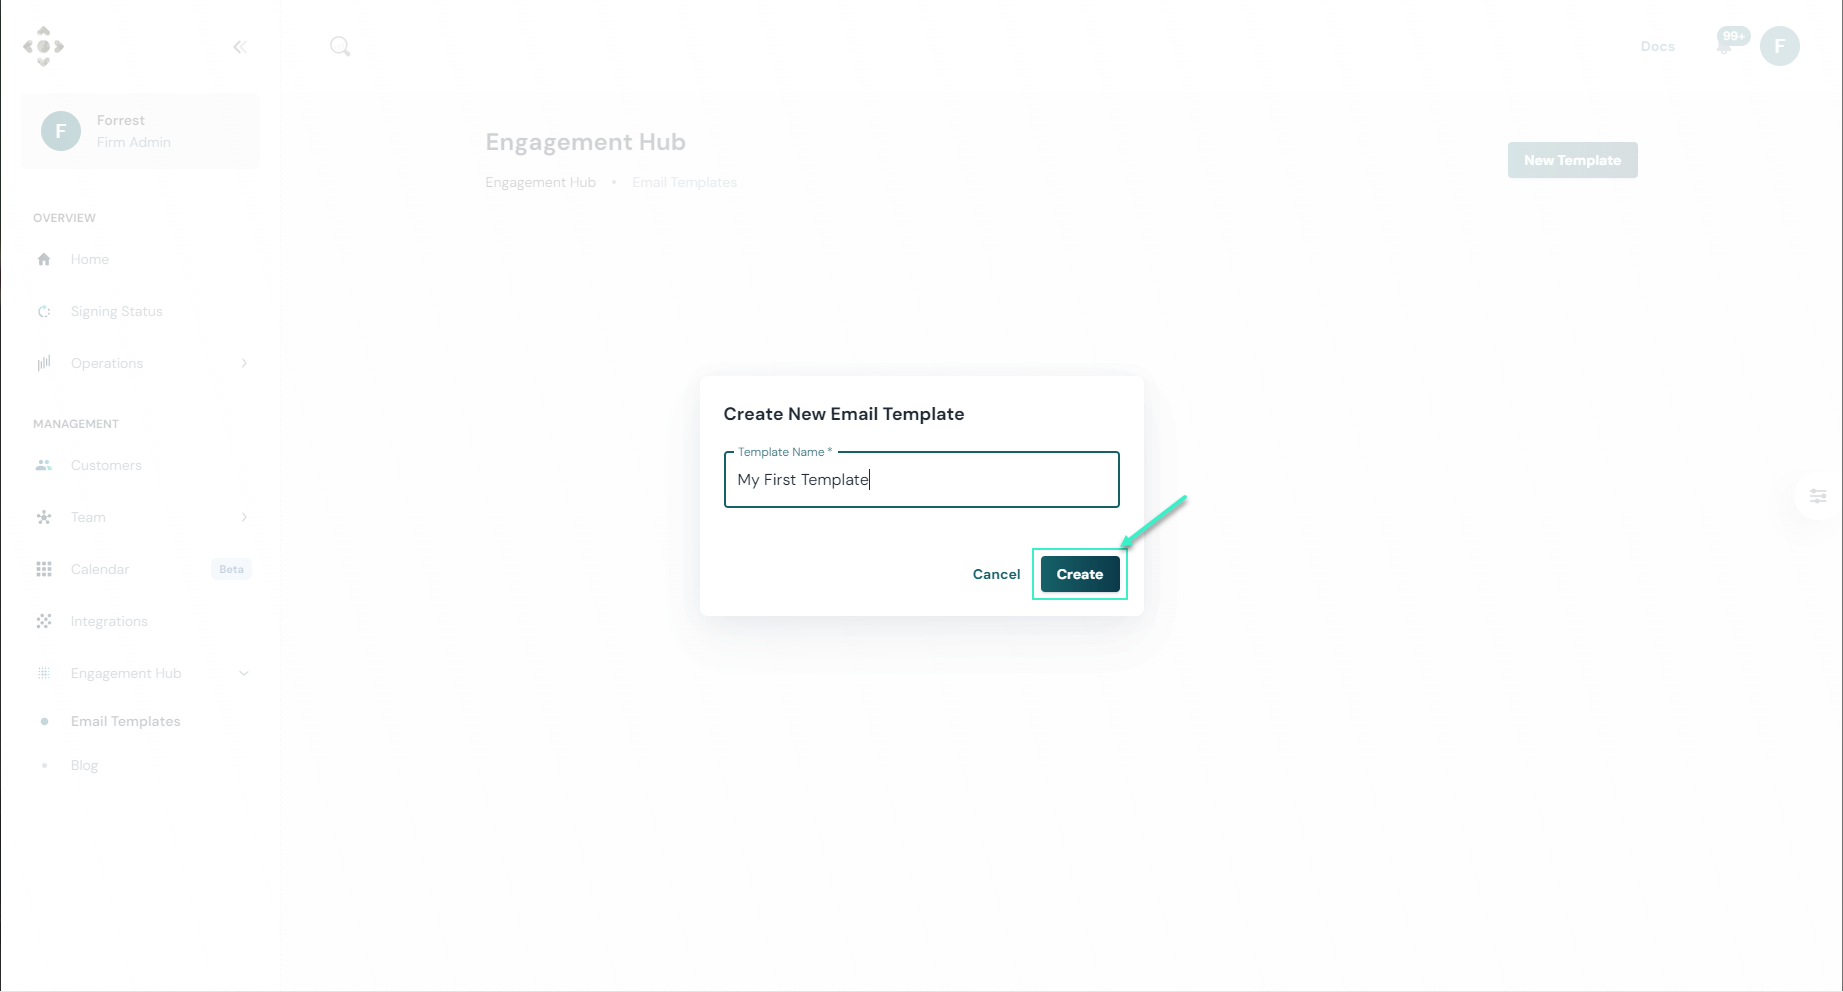
Setup your emails
You'll need to setup your emails to ensure everything your prospects and clients receive looks like it came from you and is on brand.
Go to Finpace > Engagement Hub > Email Templates to get started.
Onboard your first client
Once you've built out your basic settings, you'll be ready to onboard your first client!
Onboarding is discussed in detail in this article within Finpace Docs. For more information, please refer to that article.

Conclusion
Once you finish, click Complete Onboarding to finalize the experience. Congratulations, you are already well-versed in some of Finpace's most important features!
You can repeat the entire exercise or any specific step in the checklist by returning to the first step in this article.
FAQs
Connecting your CRM allows Finpace to seamlessly pull and push your client data bi-directionally, helping you automate workflows and keep your records up to date for KYC protocol. This integration is essential for ensuring that forms, emails, and onboarding processes are accurate and streamlined. If you don't have a CRM, you can just use Finpace's Mini-CRM!
After navigating to the Templates Library, simply select the template that best fits your needs and click "Add to My Templates." You can customize it further if necessary before deploying it for client use.
Sending a test form allows you to experience the client-side interaction and ensures everything is working correctly. It's an important step to confirm that the data-gathering, workflows, and automations are functioning properly before sending real forms to clients.
In the "Engagement Hub," you can access the email builder to create and customize branded emails. Once set up, you can automate email workflows for tasks like client onboarding, KYC requirements, and reviews, ensuring consistent communication with clients.
Sending a test form allows you to experience the client-side interaction and ensures everything is working correctly. It's an important step to confirm that the data-gathering, workflows, and automations are functioning properly before sending real forms to clients.
